Technical guide
How to size your belt conveyor
Published on July 22, 2026 · Demakine Team
Sizing a conveyor is not choosing a length from the catalog. It is answering five questions in the right order: what will go on it, how much per hour, from where to where, at what incline and in what environment. When these five answers are clear, the project comes out right and the machine works full shifts with no improvisation. When one is missing, rework appears: a belt that overflows, a motor that trips, product rolling back to the foot of the conveyor.
This guide shows how we do this sizing in practice, with the vocabulary our engineering team uses in the first contact with the customer. At the end, you use the website calculator to see the reference numbers for your operation.
1. Start with the material, not the machine
The material defines almost everything in the project: belt profile, width, speed, sealing and even the structural material. Describe the product as concretely as possible.
•Bags, boxes and closed packages: loads that rest fully on the belt, usually on a smooth belt.
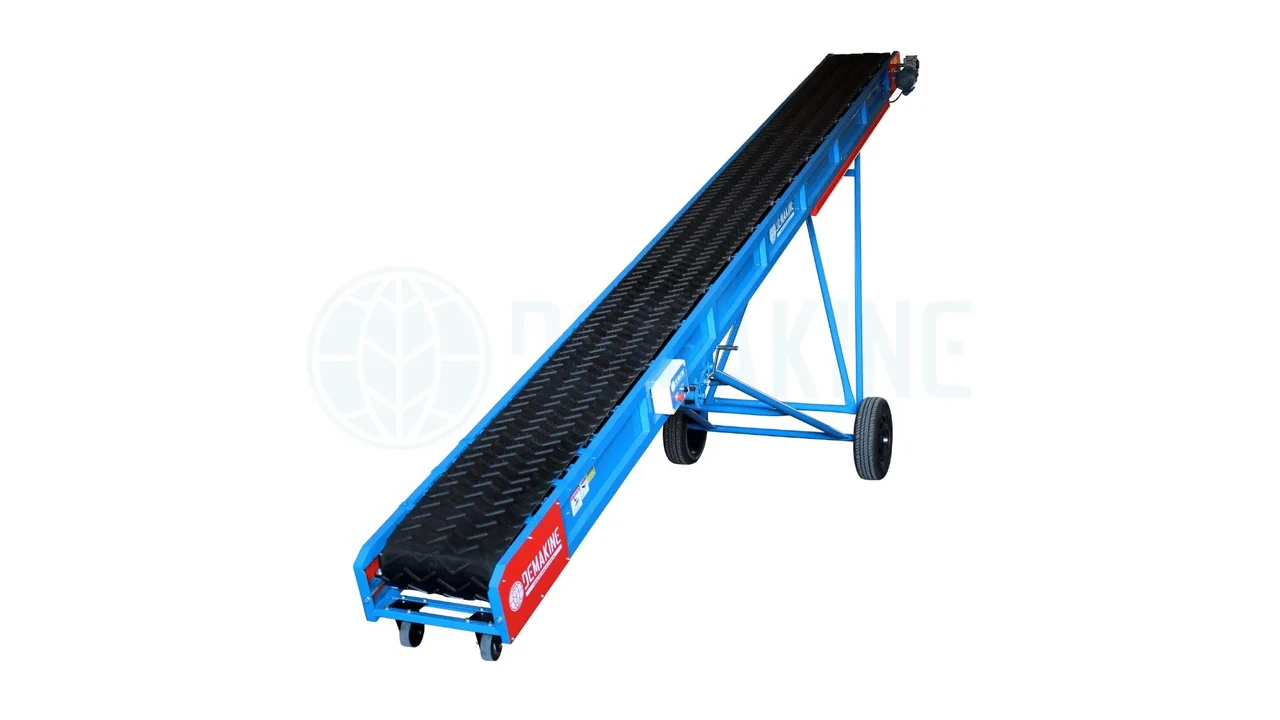
•Dry bulk, such as grain and fertilizer: performs better on a V belt, which forms a trough and avoids loss at the sides.
•Loose material going uphill: calls for a cleated belt, otherwise the load comes down as the conveyor runs.
•Waste and recycling: irregular items, cuts and metal tips call for a sturdier belt and a well-adjusted scraper.
•Food and washable product: non-toxic belt, stainless or galvanized structure and a design made for sanitation.
Two details that change the project and almost always get left out of the first e-mail: moisture and particle size. Wet product sticks, cakes and slides differently. Fine powder calls for sealing and care with leaks at the joints.
2. Define capacity by the peak, not the average
The right calculation is not the day's volume divided by the hours. It is the peak: the moment when two trucks arrive together and the line has to take everything without forming a queue. Size for the peak and the operation never becomes a bottleneck.
Translate capacity into a unit you already use: tons per hour, bags per hour, boxes per minute or packages per shift. Any of them works, as long as it is a real number you have seen happen in your operation.
3. Measure the distance and the discharge height
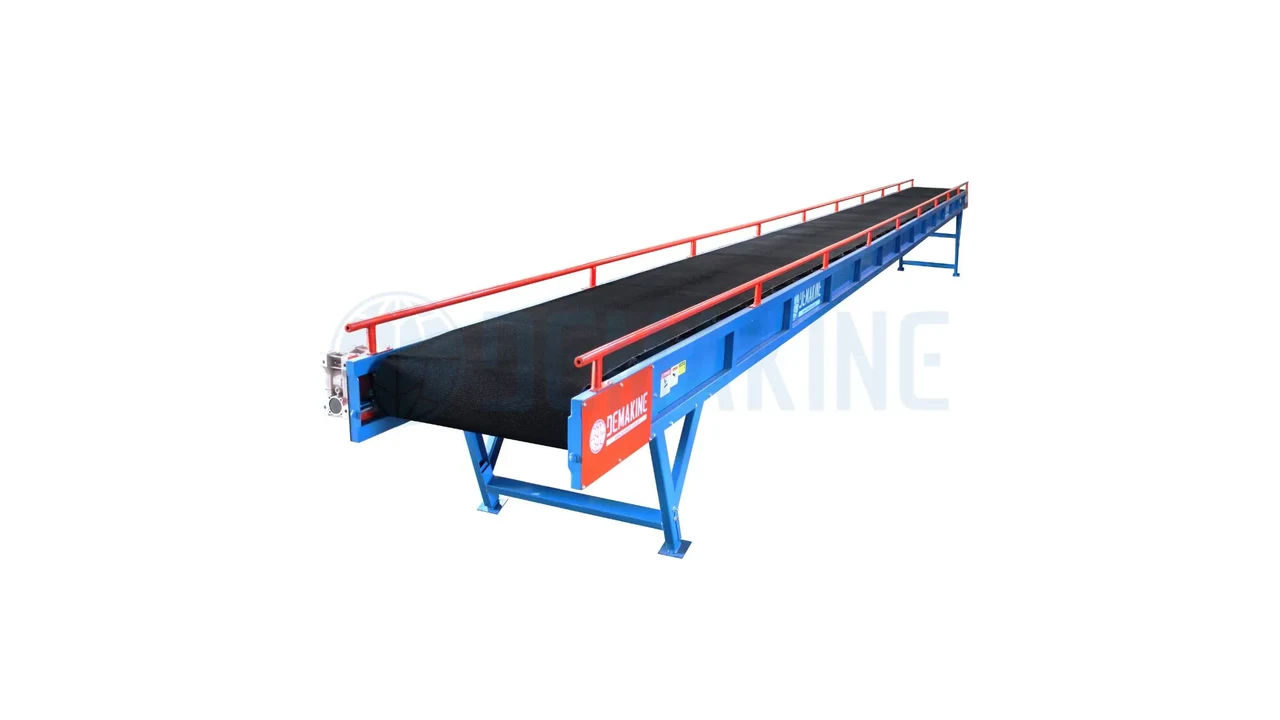
Length and height are the two measurements that define the size of the machine. Measure the path the product has to cover, from the feed point to the drop point, and the height of the discharge point above the floor: the edge of the truck body, the hopper mouth, the silo inlet or the sorting table.
If the discharge height changes during the day, there is a solution: articulated conveyor, base with casters or height adjustment. Say so at the start and the project is born with the right flexibility.
4. Be careful with the incline
Incline is where most mistakes happen. The steeper it is, the lower the real capacity and the greater the force the motor has to deliver. Going uphill with loose material, a smooth belt sends the load back. The rule of thumb: a steeper climb calls for cleats, and any change of incline after the project requires recalculating capacity and drive.
There is a path that is almost always better than increasing the incline: increasing the length. A longer, less inclined conveyor works lighter, uses less belt and trips less.
5. Describe the environment and the routine
The same machine in a covered warehouse and in an open yard has a different design. Dust, moisture, sun, water washdown, corrosive product, temperature and number of starts per day all go into the calculation. An operation with many full-load starts calls for spare motor capacity; an environment with washdown calls for stainless steel and a suitable belt.
Sizing checklist
1.Material conveyed, with moisture and particle size
2.Peak capacity, in the unit you use day to day
3.Distance to cover between feed and discharge
4.Discharge height and whether it varies
5.Incline available on site
6.Free space, headroom and the floor the machine will stand on
7.Voltage available and whether the supply is three-phase
8.Environment, type of cleaning and number of starts per shift
With these eight pieces of information, the proposal comes in the first reply, without that back-and-forth of e-mails.
Mistakes that appear when sizing is done by guesswork
Belt width chosen by price, not by the largest item that will pass. A motor working at its limit, which heats up and trips in the middle of the shift. A smooth belt on a steep climb. A structure resting on an uneven floor, which misaligns the belt. None of these problems is expensive to avoid in the project, and all of them are expensive to fix once the machine is installed.
Now it is your turn
Use the calculator below with your operation's data. It returns reference belt width, capacity and incline, the same starting point we use here at the factory before detailing the project.
Gallery
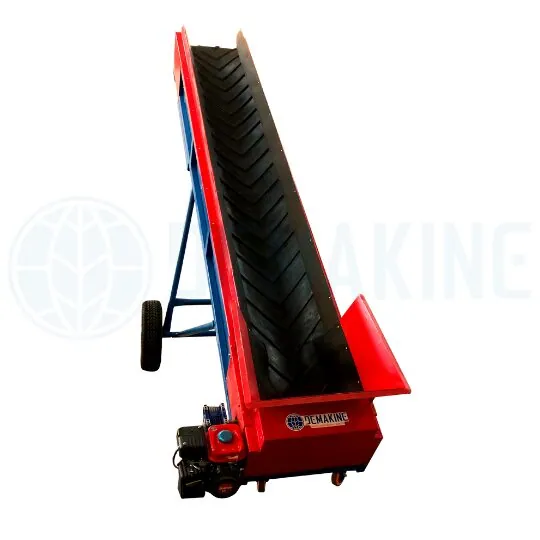
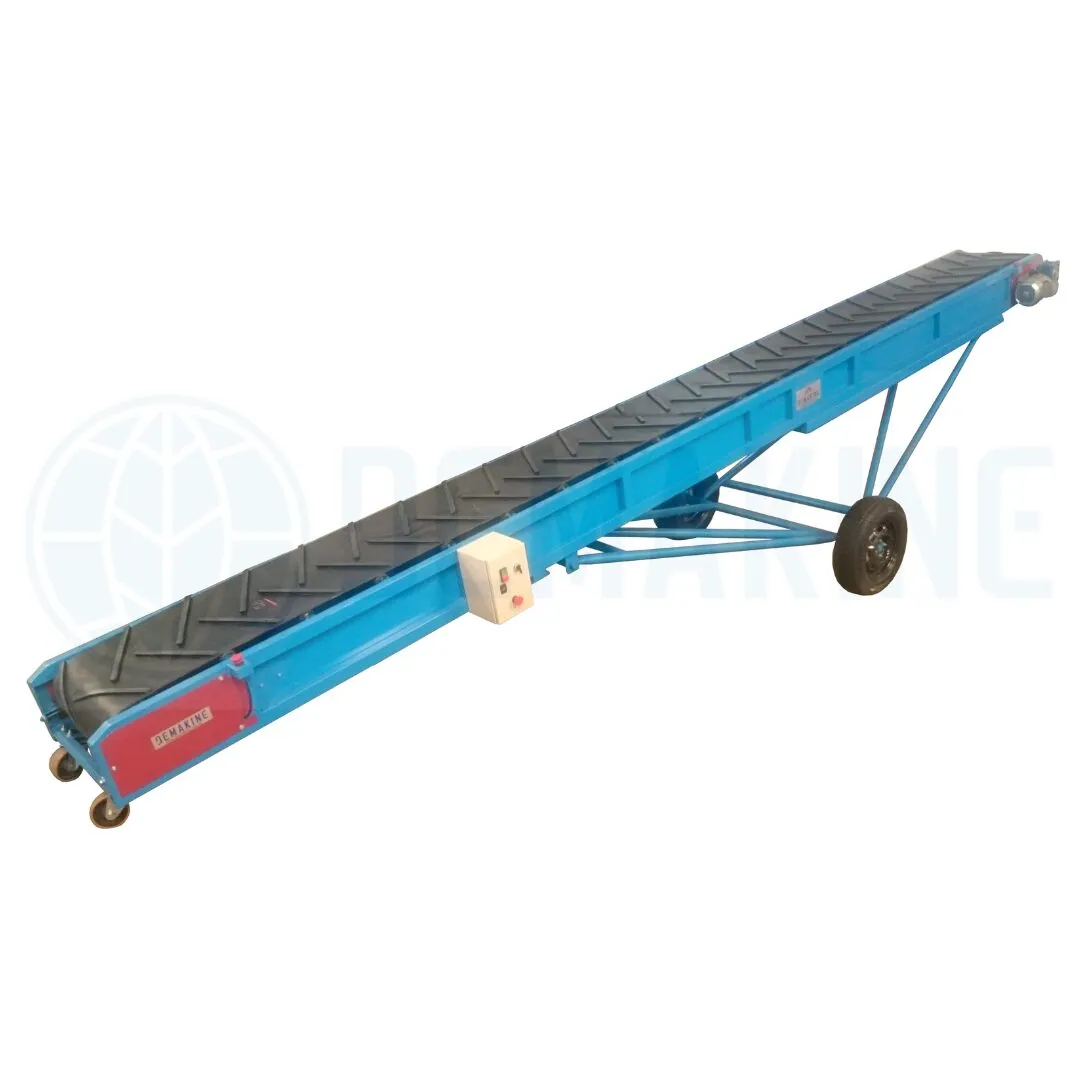
Calculator
Do the sizing now
Fill in your operation's data and see reference belt width, capacity and incline. It is the same calculation we use in the first contact.
Your operation
Engineering recommendation
Belt Conveyor for Bags
Required length
6.5 m
Incline
23°
Recommended model
ETD8
Motor
2 cv
Belt / screw
0,5 m
Capacity
70 kg/m
Reference values from our factory tables. Final confirmation is made by our engineering team with your line data.
Reference result. The final sizing is confirmed by our engineering team with the real data of your operation.
Need to apply this to your operation?
Our engineering team assesses your process and recommends the right equipment, including custom-built projects.